
Welcome to the Small Group Registration Walkthrough
This walkthrough demonstrates how the Eventact platform streamlines the attendee registration process for one person who registers themselves and a small group of colleagues simultaneously.
With Eventact's registration form, the registrant can choose a different ticket type and book individual add-ons, such as workshops and sub-events, for each group member.
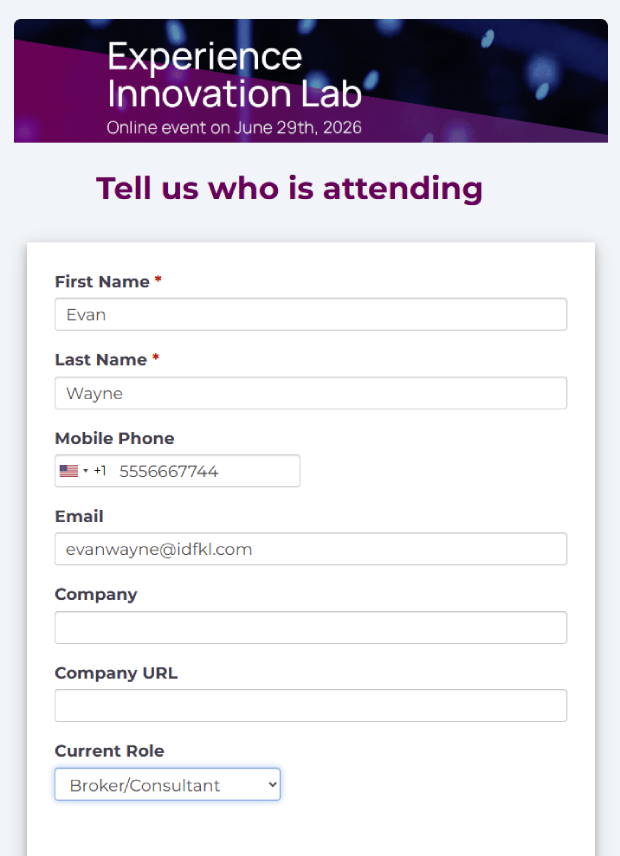
Start with Primary Contact Info
Registration begins by collecting details from the main registrant. This step ensures there's a clear point of contact for the entire group—essential for managing orders, sending updates, and keeping communication organized.
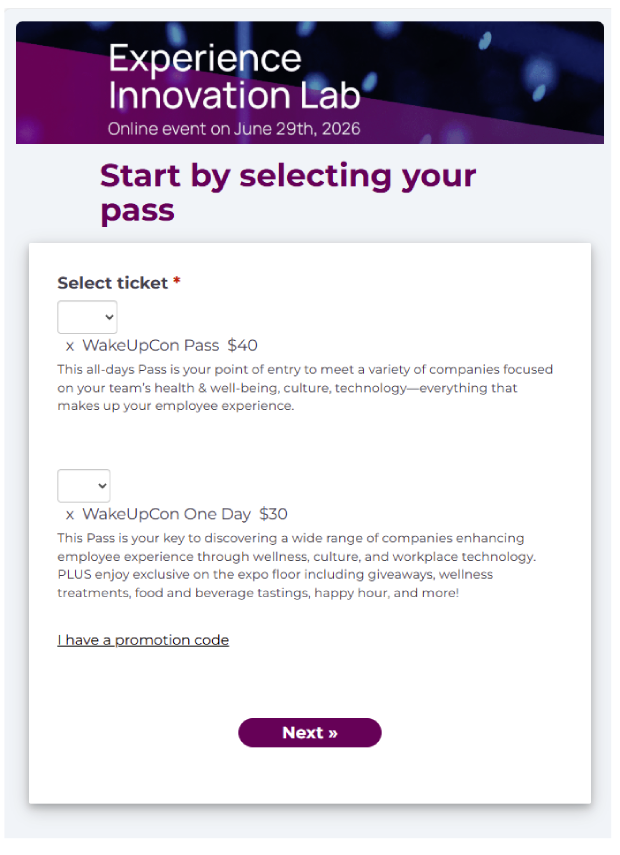
Choose Flexible Ticket Options
Eventact supports a wide range of ticket types. Whether it's a First Day Pass, Second Day Pass, or Full Conference Pass, attendees can choose the number of tickets they need for each option. This flexibility allows you to match your event structure while offering attendees what fits them best.
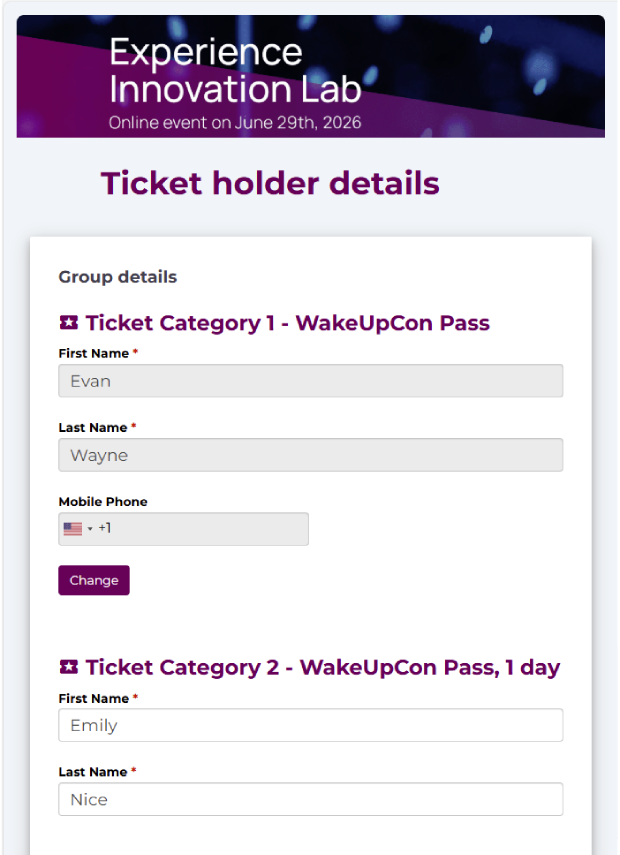
Add Individual Attendee Details
After selecting tickets, the registrant provides key details—like name, role, and company—for each attendee. This helps you personalize badges, support networking, and collect valuable data for post-event follow-up.
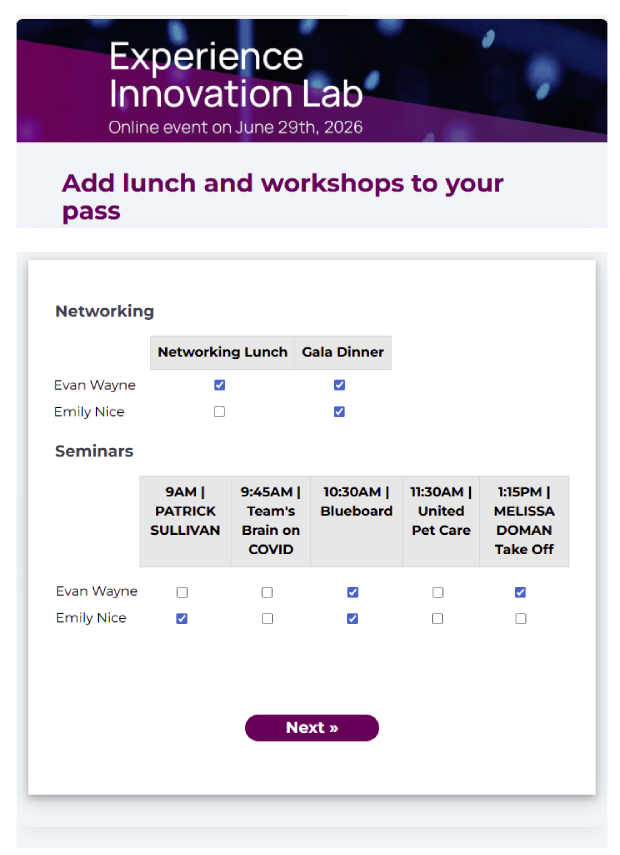
Offer Add-ons that Boost Revenue
Increase your event’s value and revenue with optional add-ons. For each attendee, you can offer extras like networking dinners, workshops, or VIP access. These appear naturally during registration, making it easy for participants to opt in.
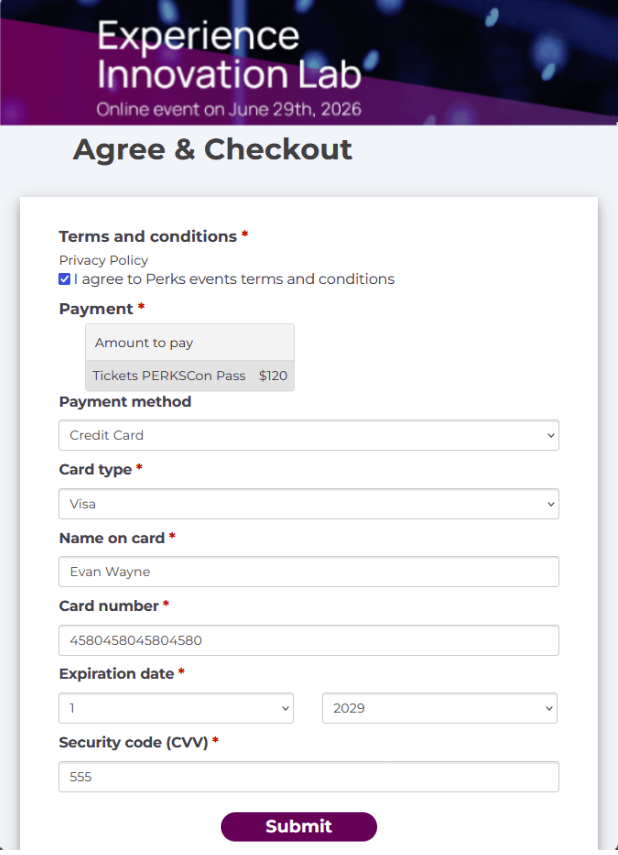
Easy Checkout
The checkout page gives a clear summary of the entire order, helping avoid mistakes and reducing support needs. Multiple payment methods are supported, making the process convenient for attendees and manageable for your finance team.
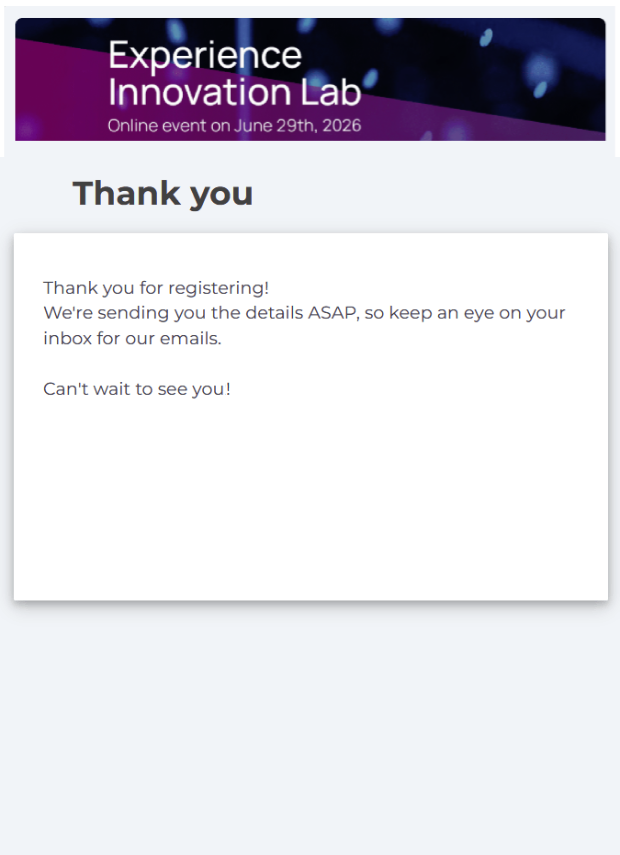
Customizable Thank You Page
Once registration is complete, the Thank You page keeps the momentum going. Customize it with a confirmation message, next steps, important links, or even a welcome video to get attendees excited about your event.
Welcome to the Small Group Registration Walkthrough
This walkthrough demonstrates how the Eventact platform streamlines the attendee registration process for one person who registers themselves and a small group of colleagues simultaneously.
With Eventact's registration form, the registrant can choose a different ticket type and book individual add-ons, such as workshops and sub-events, for each group member.
Start with Primary Contact Info
Registration begins by collecting details from the main registrant. This step ensures there's a clear point of contact for the entire group—essential for managing orders, sending updates, and keeping communication organized.
Choose Flexible Ticket Options
Eventact supports a wide range of ticket types. Whether it's a First Day Pass, Second Day Pass, or Full Conference Pass, attendees can choose the number of tickets they need for each option. This flexibility allows you to match your event structure while offering attendees what fits them best.
Add Individual Attendee Details
After selecting tickets, the registrant provides key details—like name, role, and company—for each attendee. This helps you personalize badges, support networking, and collect valuable data for post-event follow-up.
Offer Add-ons That Boost Revenue
Increase your event’s value and revenue with optional add-ons. For each attendee, you can offer extras like networking dinners, workshops, or VIP access. These appear naturally during registration, making it easy for participants to opt in.
Easy Checkout
The checkout page gives a clear summary of the entire order, helping avoid mistakes and reducing support needs. Multiple payment methods are supported, making the process convenient for attendees and manageable for your finance team.
Customizable Thank You Page
Once registration is complete, the Thank You page keeps the momentum going. Customize it with a confirmation message, next steps, important links, or even a welcome video to get attendees excited about your event.