June 23, 2025 | 4 min read
Possibilities
- After creating a project with all the necessary dates and details, you can begin building your website.
- Eventact offers a website builder with predefined components that automatically pull data from the back office - including Speakers, Agenda, Exhibitors, Place and Time, Registration, and more. The design of these sections is partially customizable.
- You can also use pure HTML and CSS to create a custom design and content. Some scripts can be used as well.
Tip: You can define the name of your website at the project level in the Name and Title section. You can also choose whether you want your website to appear on a special page that lists all events created with the help of Eventact. The domain name will be generated automatically. If you want your website to use a custom domain, follow the instructions on how to Connect your domain to the website.
To Get Started
- Go to Project > Overview and select the Website tile. You can either copy a website from a previous event or create a new one.
- Choose whether you want your website to be searchable via search engines.
- Decide on the structure and content of your website. Ideally, create a short brief (e.g., link to an example) for yourself and your designer. The brief should define both the structure and the visual style.
- A designer can help you choose fonts, sizes, layout proportions, banners, images, background elements (for the whole page or individual sections), and other visual details for the future website. You can refer to Eventact Branding: Guidelines for Setting Colors, Fonts, and Images. It’s also important for the designer to define how the website will adapt to different screen sizes - especially mobile - since most visitors will view it on their phones.
- Once you’ve finalized the structure, content, and design, go to the Design section under Website in the back office to set colours, fonts, and images according to your plan. Examples: (screenshots of ab, science…)
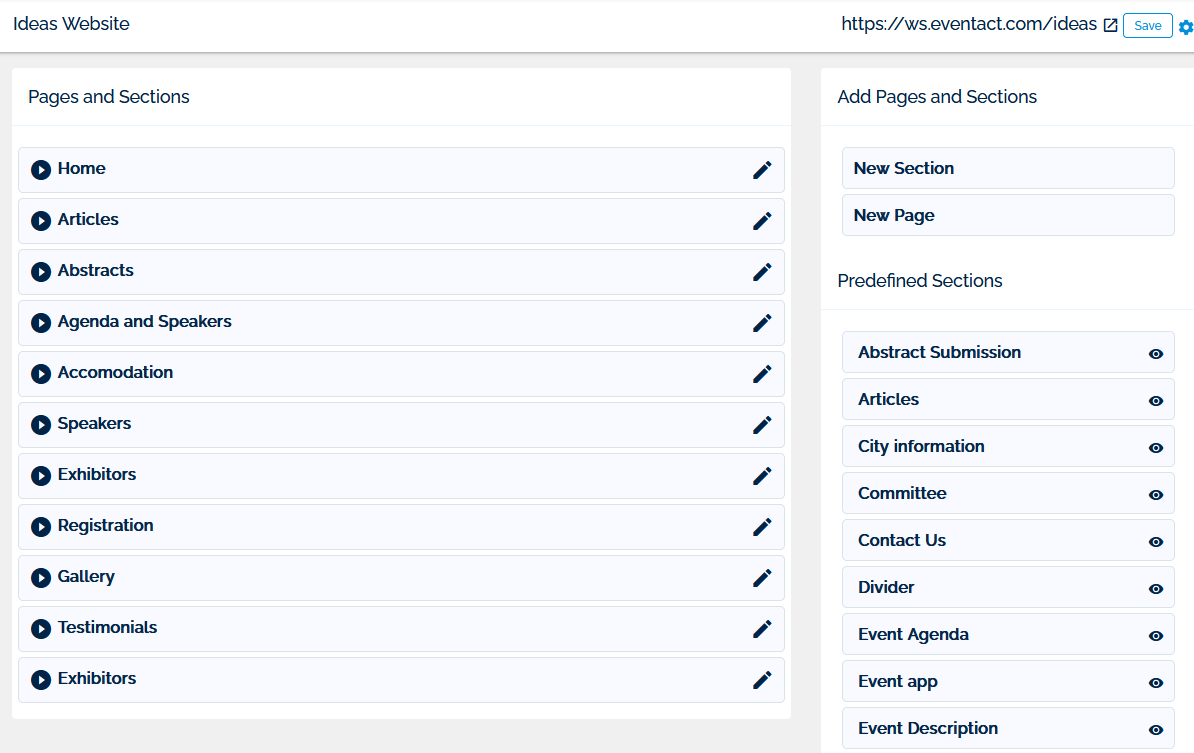
- Next, go to Website > Pages and start building your first page. By default, some predefined sections will already be present. You can remove them using drag-and-drop and add the ones you need.
- To display content in sections like Speakers or Agenda, you must first enter the relevant data in the corresponding sections of the back office.

Important Pre-Defined Sections
-
Registration
This section displays the tickets configured in the Registration area, presented in a table view based on pricing categories (e.g., Early Bird, Regular, Late Registration). It also includes a button linking to your registration form and the option to add a custom text. -
Event Agenda
First, you need to create the agenda in the Agenda section - either from abstracts or manually. Then define how sessions and lectures will be displayed:- Go to Agenda > Publish Settings to configure visibility.
- Go to Agenda > Format Options > Customize Lecture Details Display to set the layout.
-
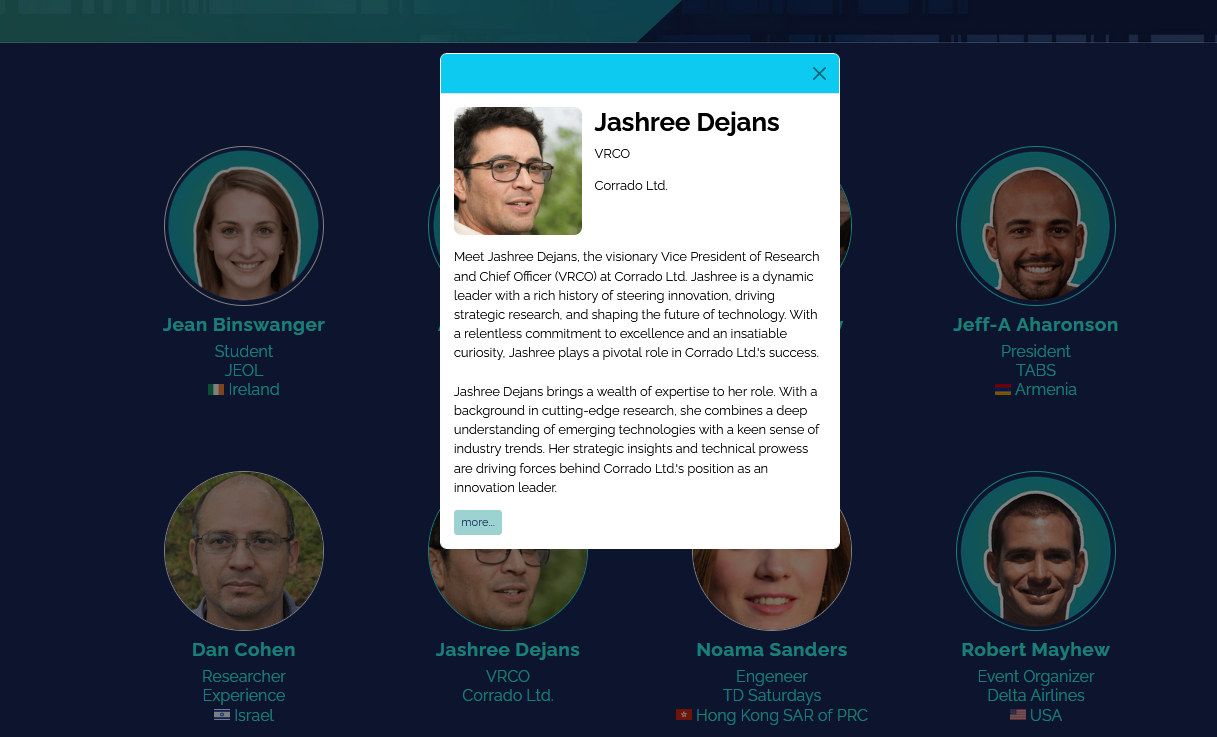
Speakers
- Go to Website > Speakers to add speakers and Committee members.
- Add their photos, biographies, positions in the list, and additional categories - either pre-built or custom ones.
- The predefined view will display them in groups based on their category, and the full description will appear in a pop-up.
-
Contact Us
- Fill in the relevant details for both the company and the project - including the company's telephone number and the project's email address.
- A contact section will be created automatically, along with a separate page containing a Contact Us form.
- The same applies to the When&Where section of the website: simply ensure the place and time information is entered correctly. When adding a location, you can either enter all details manually or click Select Address. Based on the location name provided, the system will suggest address data automatically.
Tip: If changes to the agenda or speakers don’t appear immediately on the website, don’t worry - sometimes updates take a little time to propagate.